Ah, the joys of indoor gardening! Today, we’re diving into one of those essential, yet often daunting tasks – repotting your beloved indoor plant. Don’t fret, it’s like giving your green friend a new, spacious home, and who wouldn’t love that? Let’s get our hands a little dirty, shall we?
When to Repot
First things first, how do you know it’s time to repot? Look out for these signs:
- Roots, Roots Everywhere: If the roots are poking out of the drainage holes or swirling around the base, it’s time.
- Slowed Growth: Compared to its usual spurt, has your plant hit a growth slump?
- Water Drama: Water either pools on the top or zips right through the pot? That’s a sign.
- Visible Stress: Yellowing leaves, drooping, or just a general look of “I’ve had better days.”
Choosing the Right Pot
When picking a new pot, remember:
- Size Matters: Go for a pot that’s about 1-2 inches larger in diameter than the current one.
- Drainage is Key: Ensure it has drainage holes. Trust me, your plant’s roots dislike soggy conditions as much as you dislike wet socks.

The Repotting Process
Alright, onto the main event! Here’s the step-by-step:
- Prep Your Work Area: Lay out some newspaper or a tarp. It’s going to get a bit messy, but that’s part of the fun!
- Water Your Plant: Do this a day before repotting. It eases the transition for your plant and makes it easier to work with.
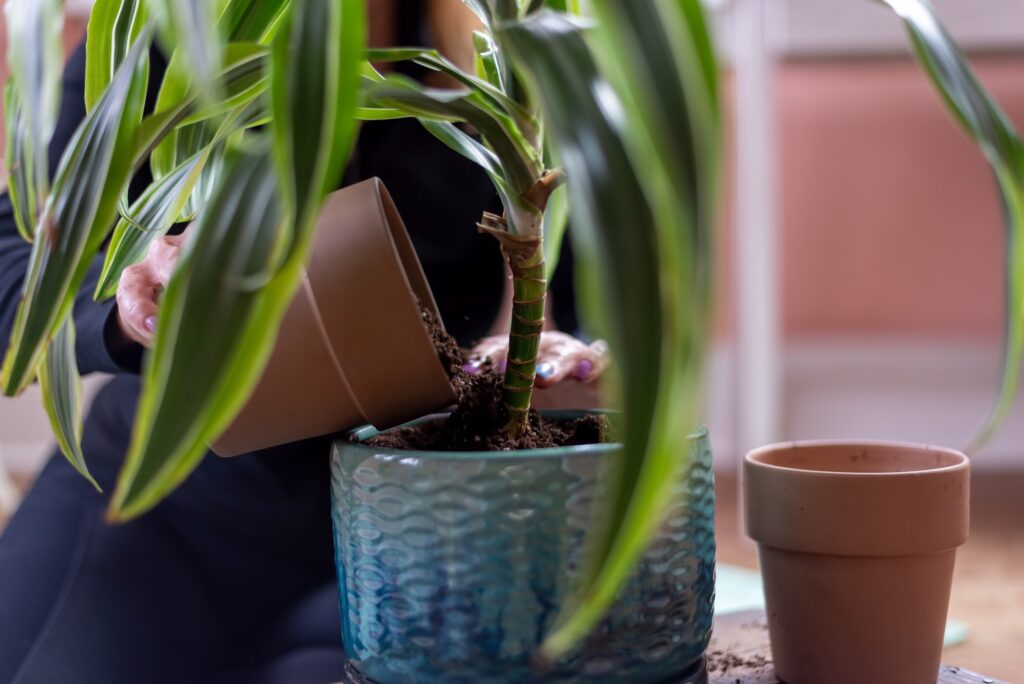
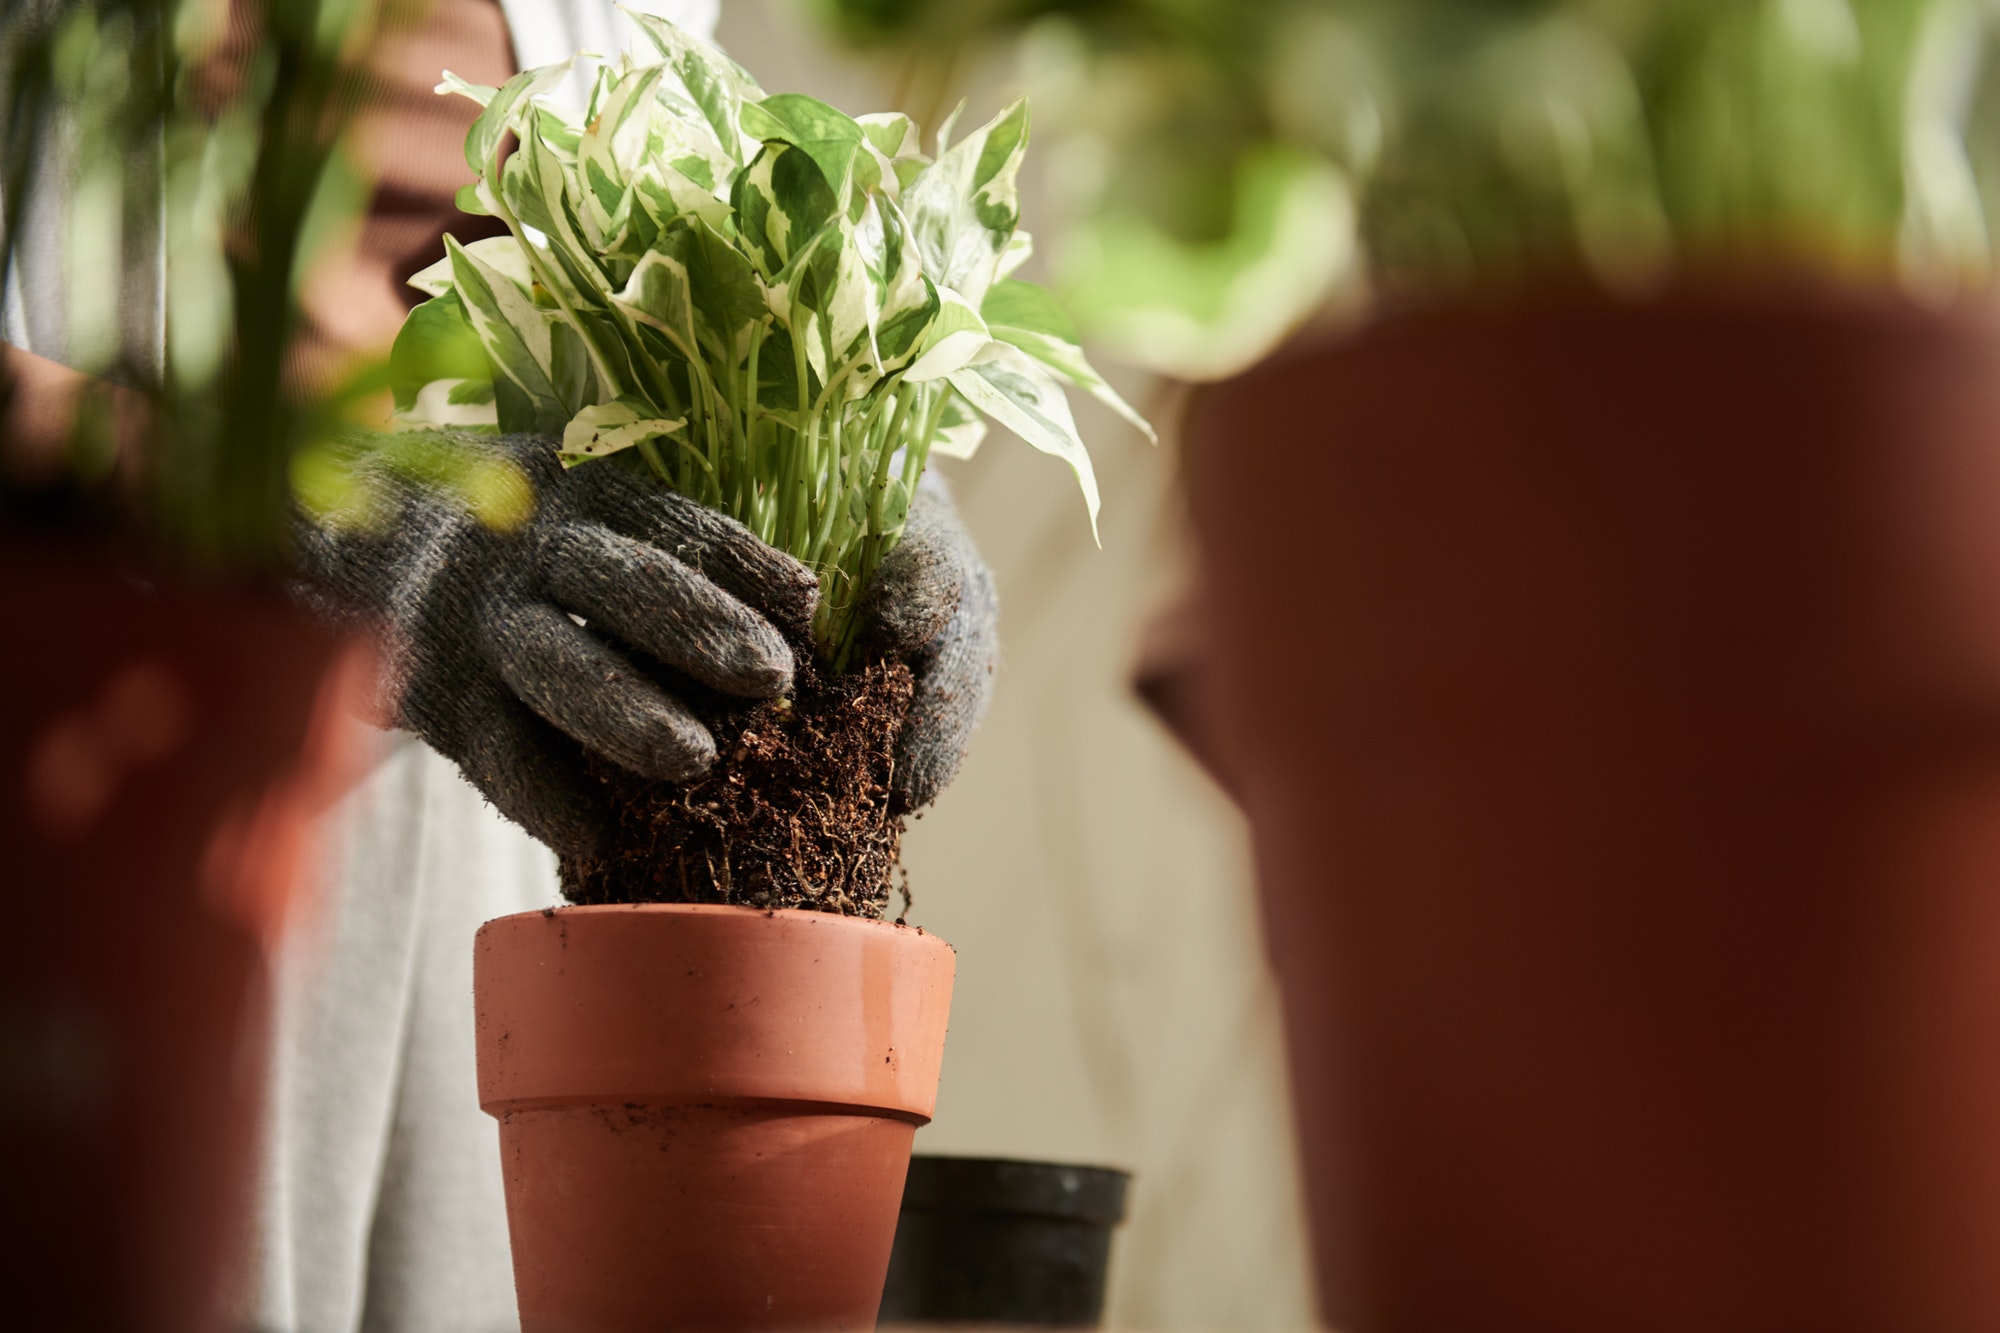
- Remove the Plant: Tilt the pot and gently coax your plant out. If it’s stubborn, a few taps on the bottom of the pot should help.
- Inspect and Trim the Roots: This is like a mini health check. Trim off any dead or overly long roots.
- Add Fresh Potting Mix: Fill the new pot about one-third with fresh, high-quality potting mix.
- Position Your Plant: Place your plant in the center and add more potting mix around it. Be gentle, and don’t bury it deeper than it was in its previous pot.
- Water and Settle: Give it a good drink of water to settle the soil and eliminate air pockets.
- Find a Happy Spot: Return your plant to its favorite spot or find a new one if its needs have changed.
Aftercare
- Avoid Fertilizer: For the first few weeks, skip the fertilizer to allow your plant to adjust.
- Monitor Closely: Keep an eye on your plant for signs of stress and adjust care as needed.
And there you have it! You’ve successfully given your green buddy a new, comfy abode. Remember, every plant is unique, so tailor your approach to its specific needs. Happy gardening, and may your indoor jungle thrive! 🌿🌱


